
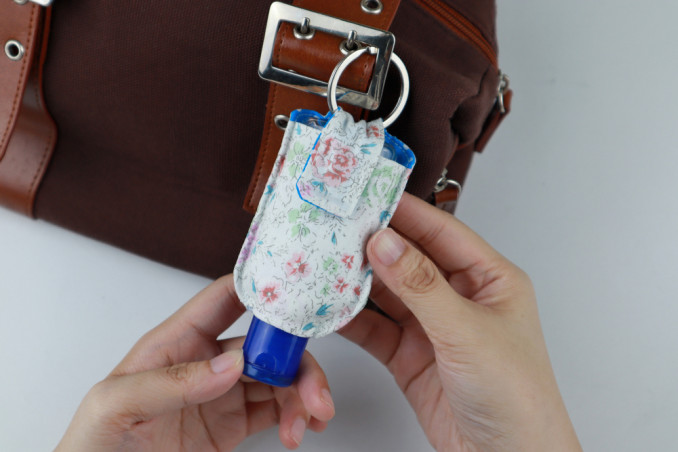
Most people go crazy for a few minutes fumbling on the bottom before hitting the center and being able to have their hand sanitizers in their hands. But there is a solution to make your life easier. Just sew a sanitizing gel bag. Here’s how to proceed.
What you will need
The cotton fabric of two designs, scissors, needle and thread (or sewing machine), gel dispenser, ruler, sheet, pencil, iron, snap button, or velcro closure
Method
1. Place the gel bottle upside down on top of the paper.
2. Hold the pencil perpendicular to the paper and draw around the bottle without tracing the cap but only a piece of the bottleneck.
Read also: How To Furnish Your Home Entrance: Top 5 Ideas
3. Add 1cm on each side of the bottle and make a second outline.
4. Find the center of the side at the top, measure 1cm to the left and 1cm to the center’s right, and draw a 5x2cm side rectangle.
5. Use it as a template to cut out two pieces of different patterned fabric, fold another rectangle of fabric, and the pattern.
6. Cut out all the way around, taking the folded pattern as a shape.
7. Fold and iron the bottom flap of the two identical fabric pieces and fold the other fabric in half.
Also read: How to Stretch Shoes at Home
8. Place the folded piece inside the other two, arrange the same pieces with the front of the fabric until they match.
9. Sew all around, leaving the opening at the bottom, turn the work over, and iron the work.
10. Sew a press stud to secure the hanging piece to the body of the work, otherwise sew a Velcro fastener.
Adapted and translated by Wiki Avenue Staff
Sources: Donnad


